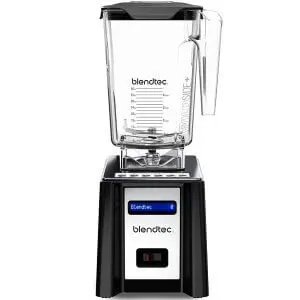
 A blender is one of the handy household appliances. Smoothie and juice enthusiasts like me can’t do without this magnificent machine. I use it every morning to prepare a superb morning meal to keep myself energized and healthy. However, the appliance requires proper cleaning and maintenance to work optimally. This is why I emphasize cleaning the blender regularly and adequately.
Cleaning the appliance prevents the growth of bacteria from residue stuck on crannies, nooks, and bottom of the jar. However, cleaning can be a daunting task, especially if not done immediately after making a smoothie. In this guide, I will take you through step by step on how I properly clean my blender.
Precautions When Cleaning A Blender
- Be cautious enough when handling the mixer – The blender blades can cause significant harm.
- Detach the cords from the socket to avoid electric shocks
There are two types of cleaning; quick wash and in-depth cleaning. The latter involves setting apart the mixer when cleaning it. This way, I can remove food particles that are stuck on crevices, lids, and other components. Manufacturers’ manuals help greatly when doing the cleaning.
Here is how to wash your machine and leave it sparkling clean.
Disassemble the Blender
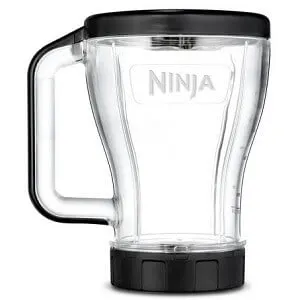
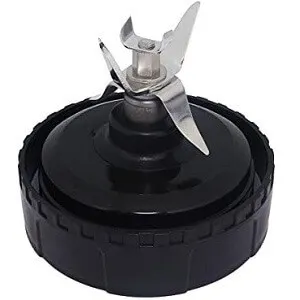
This step involves separating the blender from the base. After setting the components apart, remove the top lid. Proceed with caution by watching out for the blades when unscrewing the bottom component. The last step in separating the blender component is removing the blade and seal. Some latest models are designed to clean themselves automatically. However, you will still have to do most work. Note that some blenders’ lids, blades, and containers are dishwasher safe. It is imperative to check manufacturer manual and product description for safety information and instructions on how to set up the appliance.
Read More: Can You Put Carbonated Drinks in a Blender? Find Out Now!
Wash the Jar Thoroughly
 The jar is the main component of the blender and where the most focus should be when cleaning. I recommend dumping any remnants always to simplify the cleaning process is. The process itself is quite simple. I use warm soapy water with a dishrag or sponge to give it maximum cleaning. The jar should be rinsed off well before drying.
While the top rack of a dishwasher can be used to clean the jar, I prefer hand washing. It is not only faster but also reduces the risk of breaking and scratching. Water and soap will not remove stubborn stains well. This is where lemon and baking soda come in handy. Blend the mixture for 30seconds at high speed and then scrub the interior using a soft sponge. Rinse thoroughly and dry. Vinegar and baking soda will also do the trick. Vinegar makes the blender shinier.
Read More: Are Vitamix containers dishwasher safe?
Plastic jars tend to be more susceptible to stubborn stains than glass jars. Over time dark colors start forming on the blender jar. Crusty bits can get out of hand if left unattended for a long time. If I notice stubborn stains, I resort to using lemon, which is an excellent natural solution.
Sometimes the blender produces a funky smell emanating from the jar, especially after using smelly ingredients. Here is a trick I use to deal with this odor. I mix lemon pieces with water and blend. Lemon removes odor and leaves a fresh, pleasant smell. Remember to rinse and dry well.
Read More: How to clean a Ninja blender
Clean Small Pieces
 The next step is cleaning the small components of the blender, such as locking ring, blade, and gasket seal. Just like the jar, the pieces require warm soapy water. A dish detergent powder and hot water also do a great job. It is important to rinse off the components thoroughly before drying
Before I am done with cleaning these parts, I check for a hard, stubborn stain. Stacked items are common if the blender has stayed for a while before cleaning. Run a mixture of baking powder and water to remove hard stains.
To remove gunk from the blender and kill germs, I use warm soapy water and white vinegar and let it soak for hours. Blending a mixture of hot soapy water removes all stuck stuff. Water and baking soda clean the appliance thoroughly. I recommend leaving the solution stay for about 10 minutes to get better results.
Clean the Motor Housing
When cleaning, motor housing components; use a warm damp piece of cloth. Here is an important point. The whole base should never be submerged in water or cleaned using a dishwasher. Similarly, the base should never be placed on the dishwasher to avoid damage. I should also point out that you should wipe the base properly.
When cleaning the motor housing component, check out the cords and for impairment. If there are stubborn residues, use a cleaning brush to loosen and scrape off the dirt. Hydrogen peroxide and alcohol will also do the trick. But here is a word of caution. It is imperative to rinse off the appliance thoroughly after using these chemicals. After cleaning the blender, reassemble and place it conveniently over the countertop.
Things to Keep in Mind When Cleaning the Blender

- Some blender lids are designed into two pieces. You must take apart these pieces and clean them separately.
- Dishwashing can scratch and etch a blender. Hand washing is not only safer but also keeps the blender looking great and clean.
The Quick Method
A quick clean is pretty much easy and takes less than one minute. It helps to keep the appliance clean in between in-depth cleaning, which is time-consuming as it requires taking all components apart.
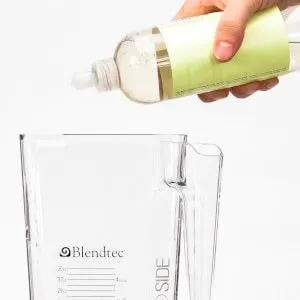
A quick 30 seconds cleaning is different from a deep clean. When in a rush and I want to leave my blender clean, I add hot water and a few drops of dish soap inside the blender. I then place the blender to the base and put the lid back. Next, I press the pulse button several times to agitate the soapy water. The solution cleans the blender all around.
How To Clean A Blender: Final Thoughts
Cleaning your blender is quite demanding but worth it. Warm water and dish soap will suffice to clean most blending containers. It is also important to point out that some blenders have dishwasher-safe components. Reading specific instructions from the blender manufacturer is, therefore, essential.
Read More: Can Ninja Blenders Go in the Dishwasher – Best Cleaning Practices
