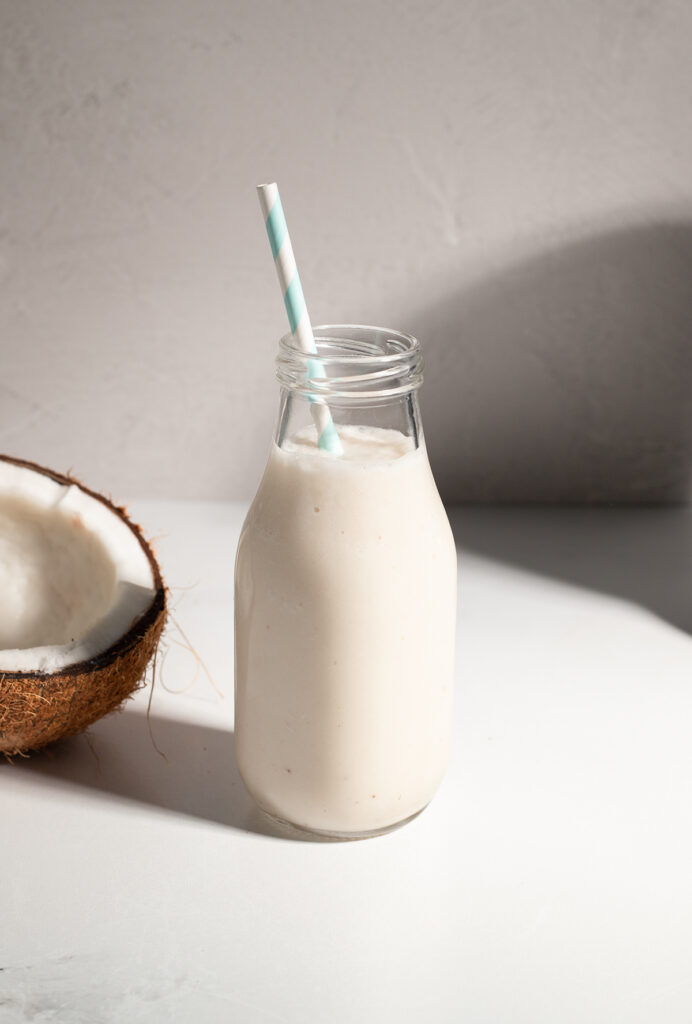
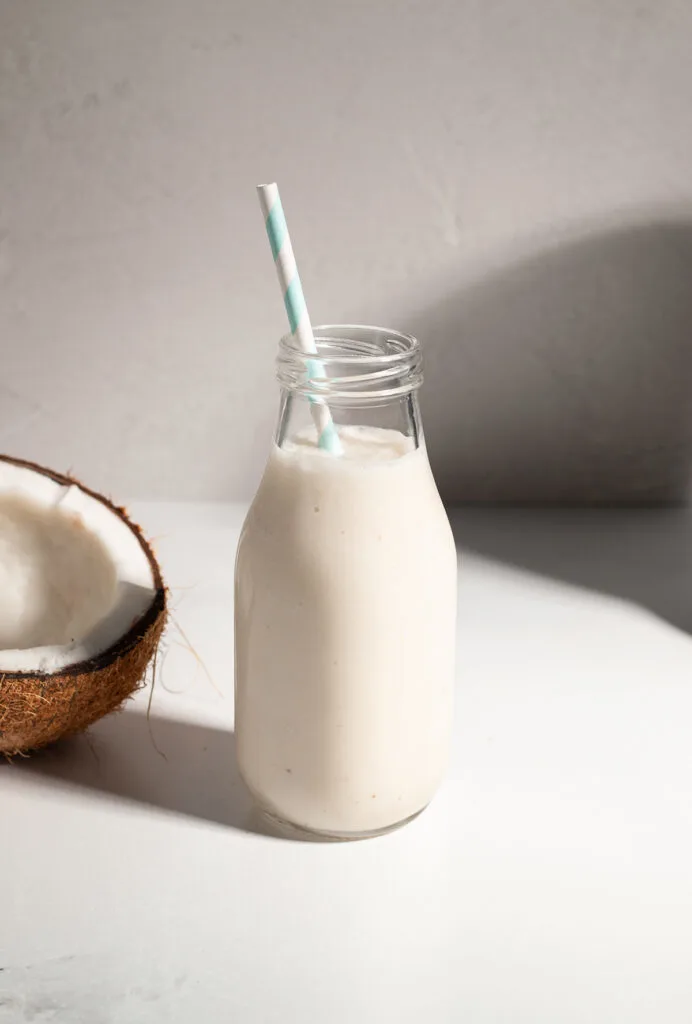
This coconut shake recipe is simple, delicious, and not too sweet. If you’ve been craving a coconut treat that’s full of flavor but made with (mostly) healthy ingredients, you’re in the right place!
Most coconut shake recipes are a mix of vanilla ice cream and coconut extract or coconut cream. These are tasty, but can be a little lacking in authentic coconut flavor. And they’re also loaded with sugar and calories.

Another method is to blend toasted or untoasted coconut flakes with coconut milk for more coconutty flavor, but you’ll likely end up with gritty coconut bits in your glass.
Three simple ingredients
After a bunch of experimenting, I realized that the simplest and also the lowest calorie version of a coconut shake was the one I liked the best. Win-win!
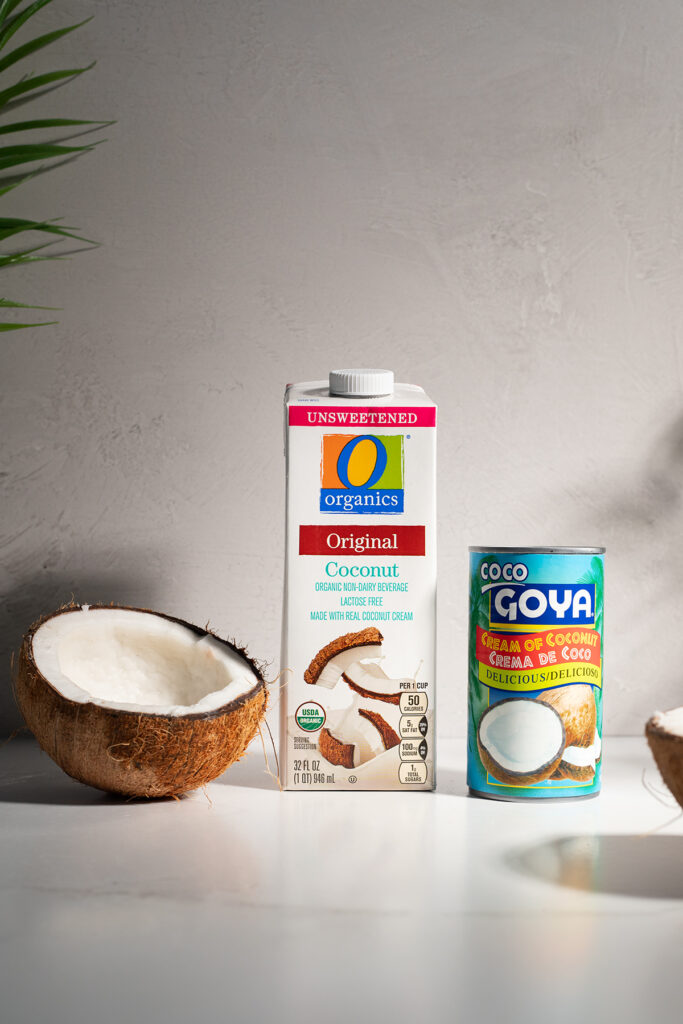
It does use canned cream of coconut as the sweetener, but I’ll include some substitution options if that’s a concern. This super simple coconut shake is made with:
- Coconut milk (from a carton)
- Cream of coconut (canned)
- Frozen banana
Why frozen banana?
For years, I’ve been making frozen banana “nice cream” in my Vitamix. It’s so easy (just frozen bananas and a splash of any kind of milk) and it’s amazing how creamy it becomes. I love to add frozen bananas to my smoothies for that creamy texture, and it’s great in milkshakes too.
One of the nice things about frozen bananas is that they don’t impart a whole lot of flavor to the finished recipe. So if banana isn’t your favorite flavor, no worries.

The bananas are there mostly for their creamy, ice cream-like texture, and a little added sweetness, but they don’t detract from the super coconutty flavor you get from the cream of coconut.
And a nice bonus is that they’re good for you! Swapping frozen bananas for ice cream is a great way make your shake a little healthier without sacrificing taste.
What is the difference between canned coconut milk and coconut milk in a carton?
You may have seen coconut milk in with the almond, soy, and oat milks at your grocer’s freezer. It’s also easy to find unrefrigerated in cartons in the baking aisle, or in cans in the Asian foods section. So what’s the difference with these forms of coconut milk and how do you know which one to choose?
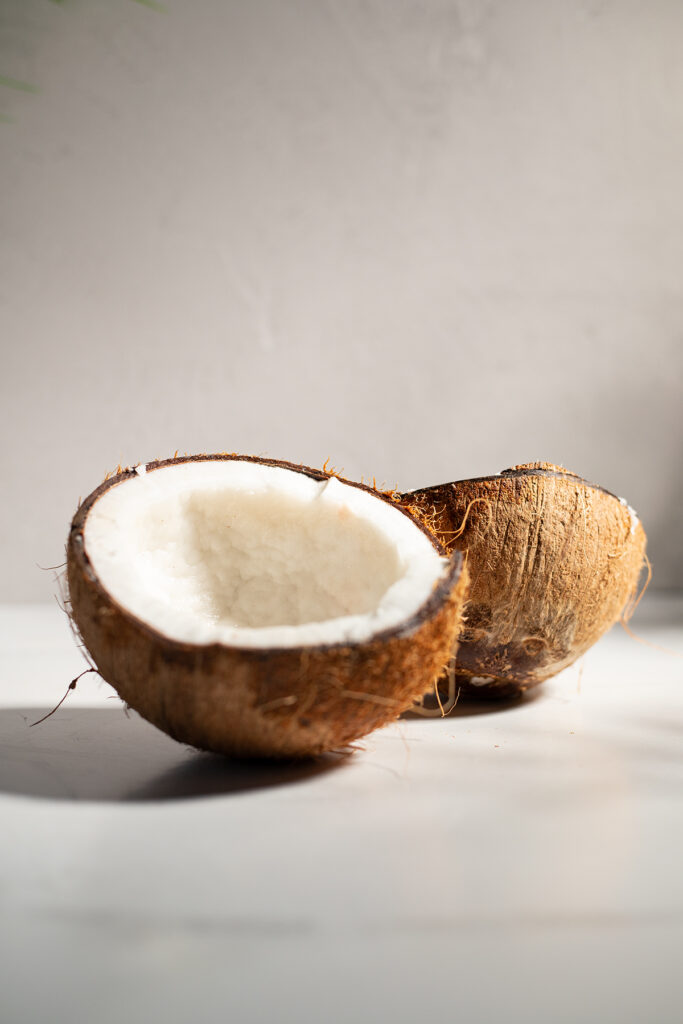
Coconut milk is made by grating the coconut’s white flesh and pressing the liquid from it. This liquid contains some coconut water and some coconut oil, making it smooth and creamy. When coconut milk sits undisturbed, the fat rises to the top, forming the rich coconut cream.

Canned coconut milk tends to be the most raw form, with liquid below and a solid layer of coconut cream on top. When using canned coconut milk in a recipe, give the can a good shake before opening to mix the cream layer back into the milk.
Coconut milk sold in cartons has been further processed to maintain a smooth, lighter liquid state (no cream on top). It’s sometimes labeled as “coconutmilk” or “coconutmilk beverage.” This is another way of saying that it’s been adulterated a bit in order to make it easy to pour, easy to package, easy to drink, and in some cases, relatively shelf stable.
Coconut milk in cartons is a little less coconutty in flavor than canned coconut milk, but it’s still delicious. It’s my first choice when mixing up smoothies and even shakes like this one because of how easy it is to use.
What is cream of coconut?
Cream of coconut is essentially just sweetened canned coconut milk. Like canned coconut milk, it’s liquidy on the bottom, and usually has a solid layer of coconut cream on top.
During the warmer months, this layer melts into the liquid. But just like canned coconut milk we discussed earlier, you just need to give the can a good shake before opening to mix the layers together.
Some popular cream of coconut brands are Coco Lopez, Goya, and Coco Real, which is processed a bit more, making it easier to pour/squeeze out of its tube. I used Goya for this recipe. I like this brand the best because it has the least ingredients.
How to make your own cream of coconut
If you prefer, you can make your own cream of coconut by mixing full-fat coconut milk (in the can) with sugar. A good rule of thumb is about ¾ – 1 cup of sugar per 1 can of coconut milk.
Gently heat the coconut milk in a saucepan and add the sugar and a pinch of salt. Stir until all of the sugar has dissolved, then let it cool and store it in an airtight container in the fridge.

Want to make it lower-sugar? You can use a sugar substitute like erythritol, allulose, stevia, or monk fruit. Add your sweetener of choice to taste. If you want a closer-to-nature sweetener that pairs perfectly with coconut, use date syrup of blend the coconut milk with whole pitted dates.
Making your own cream of coconut is a great way to avoid preservatives, stabilizers, and thickeners that you’ll find in some canned versions.
Calories and carbs in this coconut shake
There are approximately 222 calories in the full serving of this shake. There are 36 grams of carbs, 28 grams of sugar, and 9 grams of fat. I used Goya Cream of Coconut and unsweetened boxed coconut milk.
How to make it even creamier – without ice cream
If you want to make this shake even more creamy and sweet, add a half cup of vanilla (or coconut!) Greek yogurt. This will add a little more sugar though, so keep that in mind. Of course, you can add a half cup of vanilla ice cream to make this shake ultra-indulgent!
If you like tropical frozen drinks, try my Island Impact or Pineapple Surf smoothie recipes!

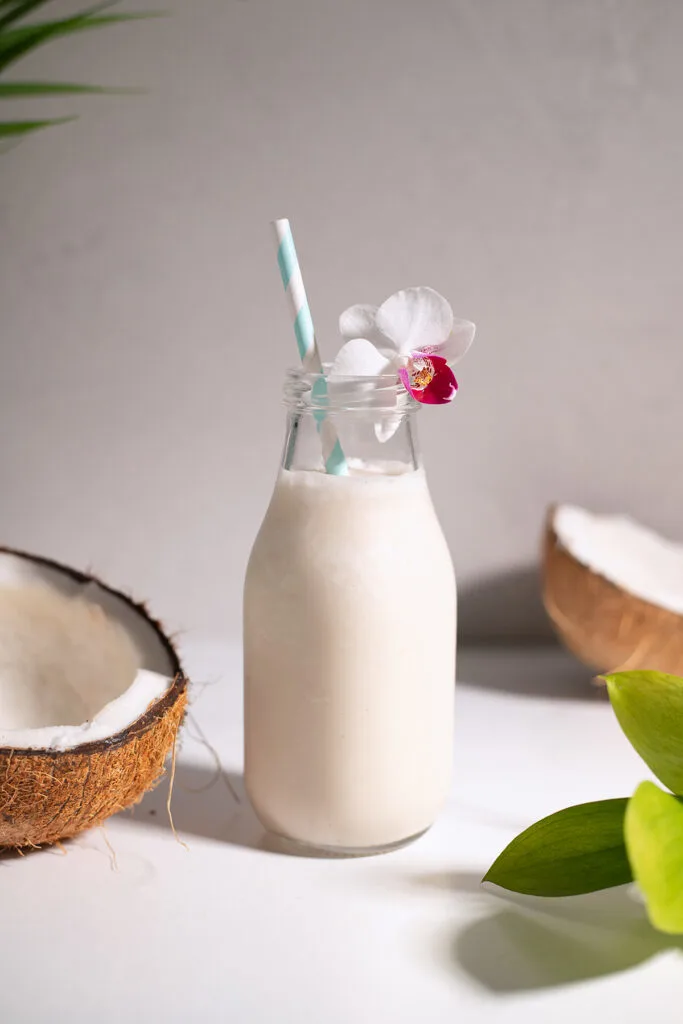

Coconut Shake Recipe (No Ice Cream!)
Equipment
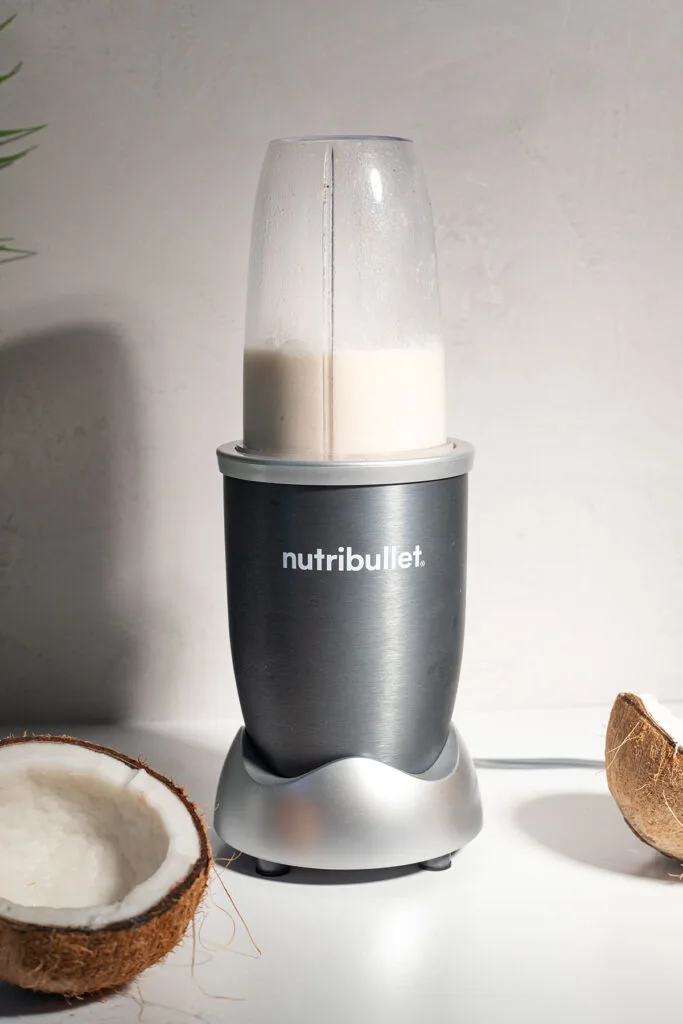
- 1 Blender
Ingredients
- 1 cup coconut milk (from the carton)
- 2-3 tbsp cream of coconut*
- ½ cup frozen banana
- ½ cup ice
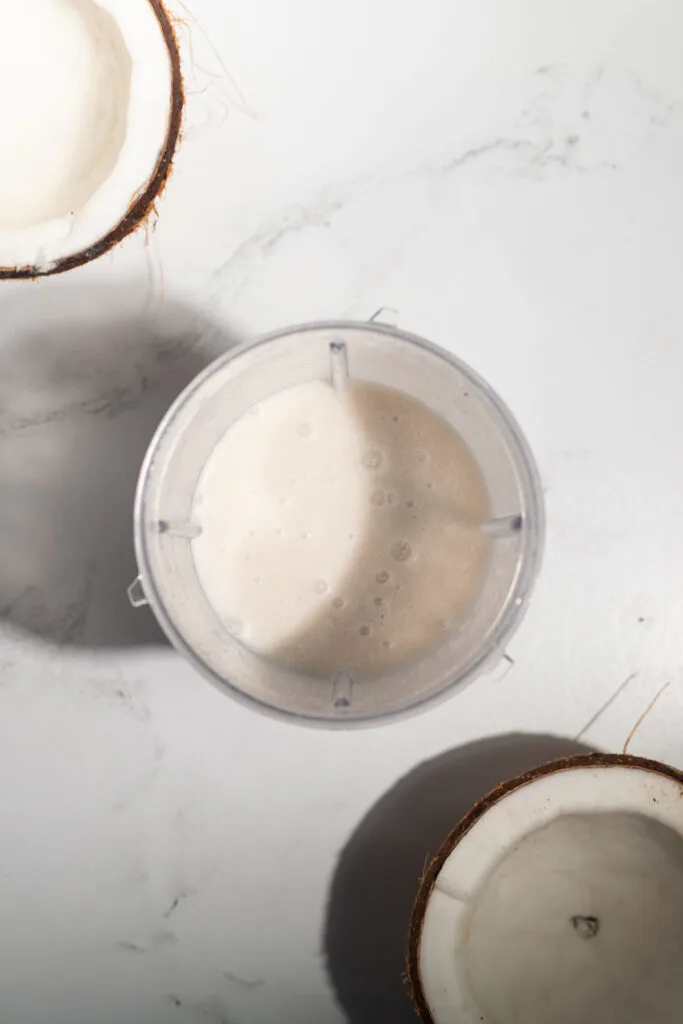
Instructions
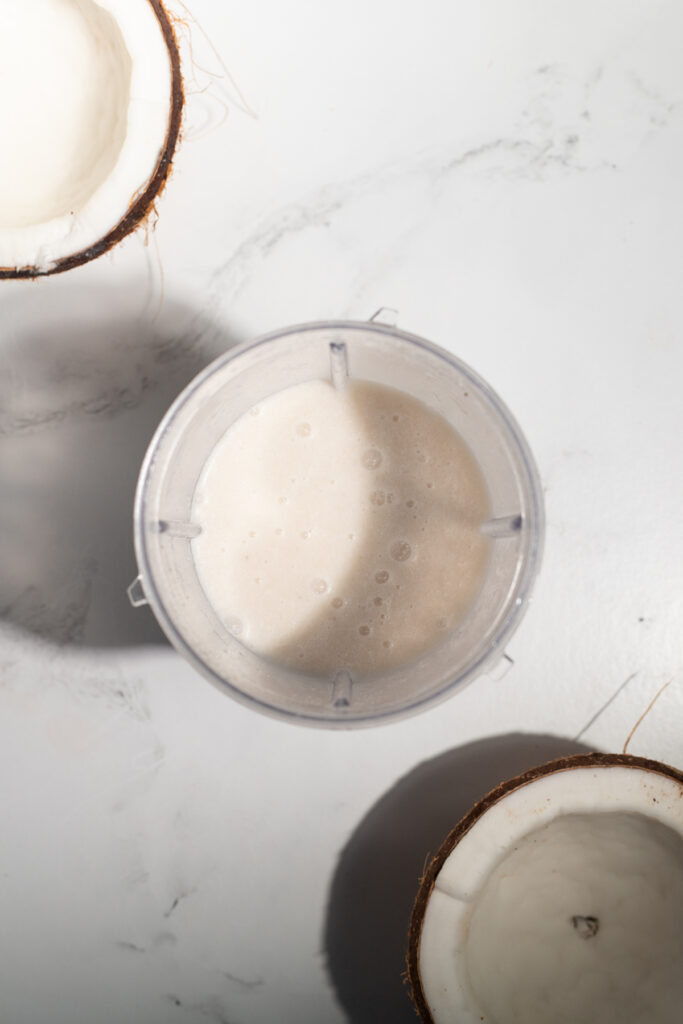
- Combine all ingredients in a blender and blend until smooth.
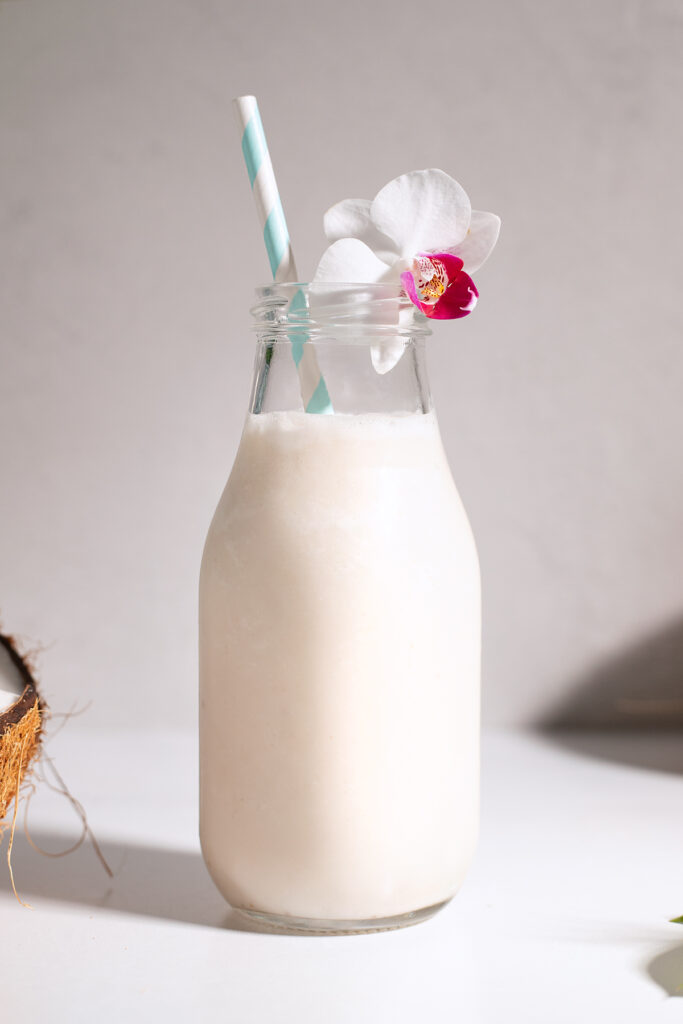
- Pour into a tall glass and serve with a straw.
Notes
*Cream of coconut recipe
Ingredients:- 1 can full fat coconut milk (roughly 1 3/4 cups)
- ¾ cup – 1 cup sugar
- Pinch of salt
- Combine all ingredients in a saucepan and place it over low heat.
- Stir frequently until all of the sugar has dissolved and the liquid has a uniform, smooth appearance.
- Pour into a container and store in the refrigerator for up to 2 weeks.